نمایش Partial View در قالب Modal Popup با استفاده از فراخوانی AJAX و JSON
دوشنبه 31 خرداد 1395در این مقاله می خواهیم نحوه ی نمایش یک Partial View در قالب یک Modal Popup را به شما آموزش بدهیم . برای این کار از فراخوانی AJAX و JSON استفاده خواهیم کرد.

در این مقاله اطلاعاتی که می خواهیم نمایش بدهیم را در یک Partial View ریخته و سپس Partial View را در قالب یک Modal Popup ایجاد کرده و نمایش می دهیم. اطلاعاتی که می خواهیم نمایش بدهیم از پایگاه داده می آیند و با استفاده از یک web grid بر روی صفحه قرار می گیرند.
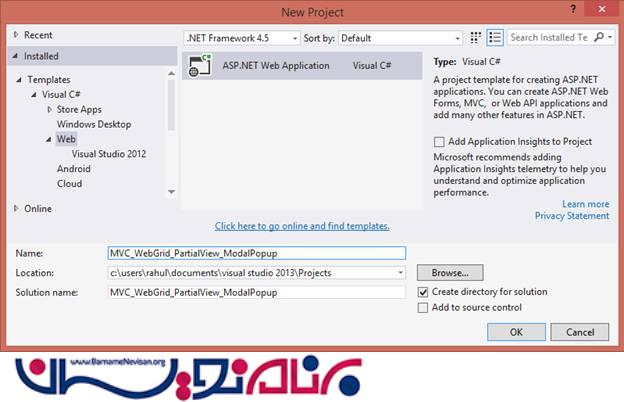
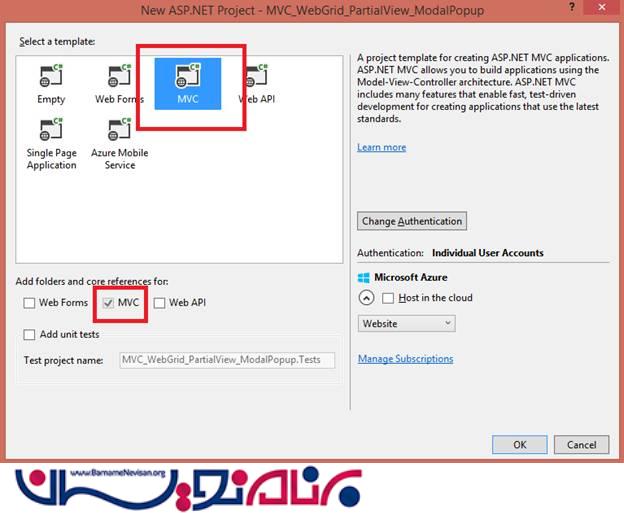
برای ساخت پروژه، برنامه ی Visual Studio را باز کنید و یک پروژه ایجاد کنید.
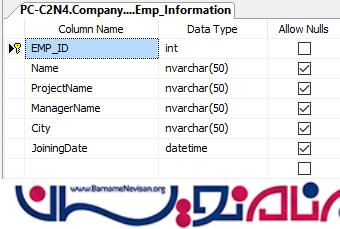
جدول داده هایی که نیاز داریم به صورت زیر می باشد:
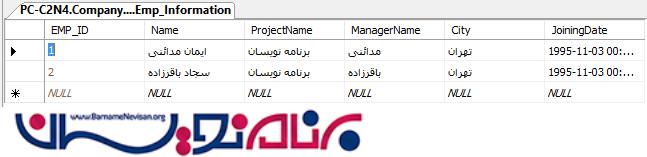
داده هایی که درون جدول قرار می گیرند نیز به صورت زیر هستند:
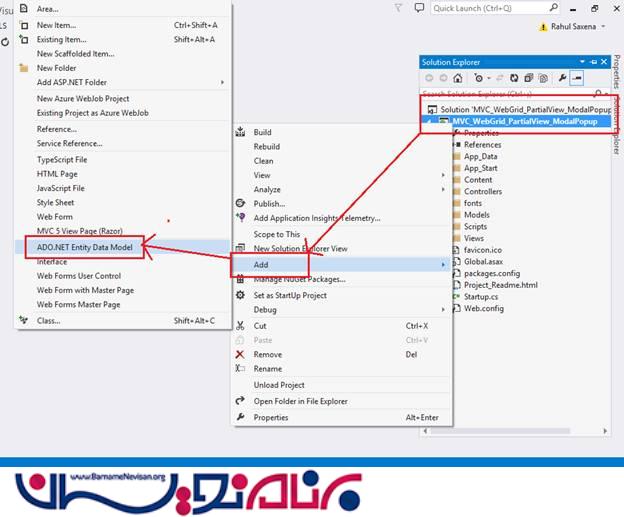
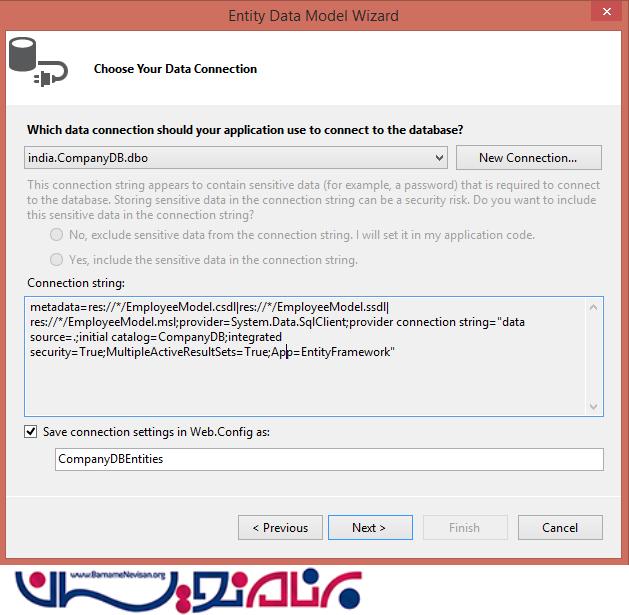
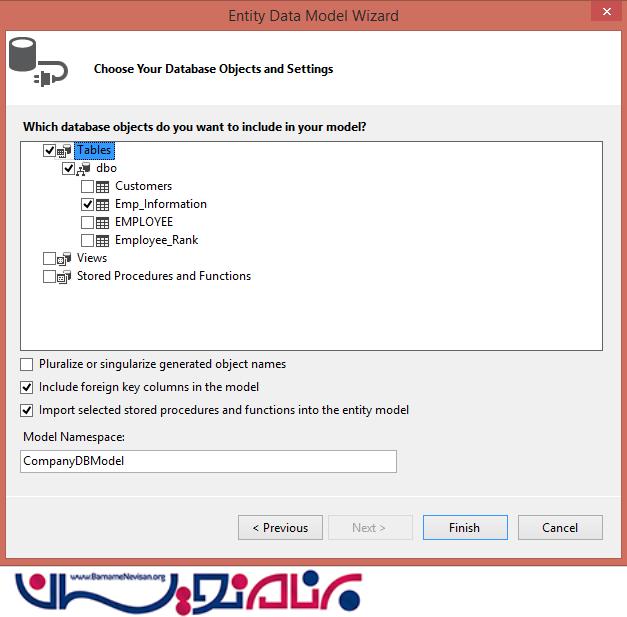
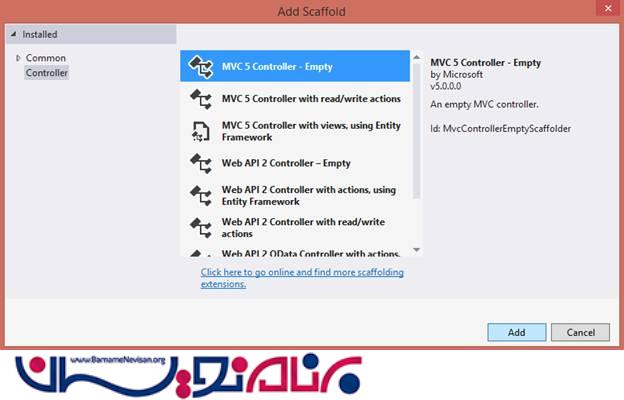
حالا بر روی Solution Explorer در پروژه کلیک راست کرده و Add را انتخاب کنید و یک ADO.NET Entity Data Model به پروژه اضافه کنید.


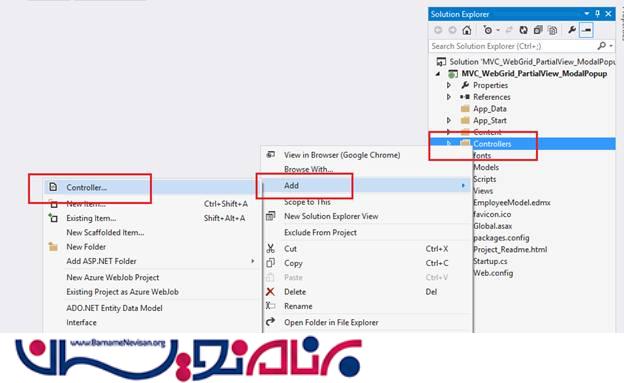
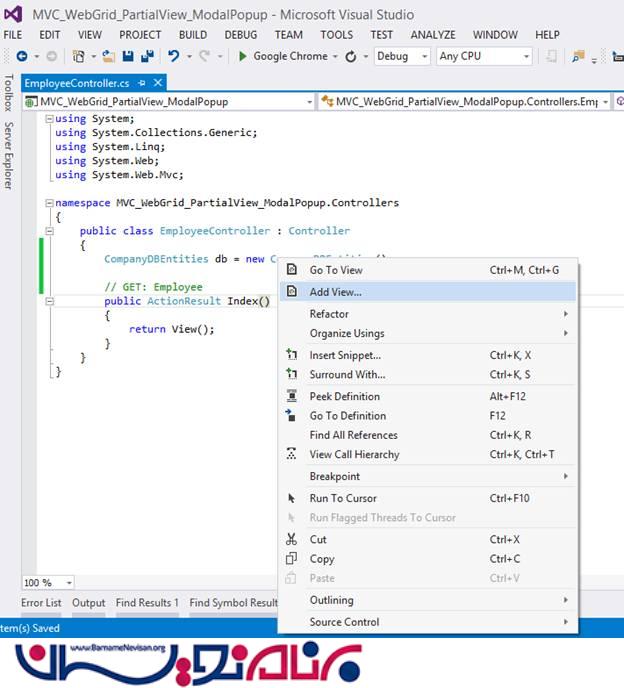
یک View می سازیم .
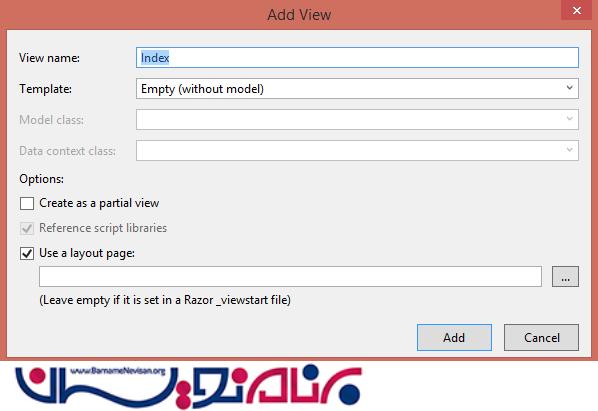
کد های زیر را به صفحه ی Index.cshtml اضافه کنید.
@ {
    ViewBag.Title = "Render Partial View As Modal Popup Using AJAX call with JSON";
    Layout = "~/Views/Shared/_Layout.cshtml";
}
@section scripts { < script > var ajaxCallURL = '/Employee/EmployeePartial';
    $(function()
      {
        $(".getAllEMP").click(function()
         {
            var $buttonClicked = $(this);
            var options = {
                "backdrop": "static",
                keyboard: true
            };
            $.ajax({
                type: "GET",
                url: ajaxCallURL,
                contentType: "application/json; charset=utf-8",
                datatype: "json",
                success: function(data)
                {
                    debugger;
                    $('#myModalContent').html(data);
                    $('#myModal').modal(options);
                    $('#myModal').modal('show');
                },
                error: function() {
                    alert("Content load failed.");
                }
            });
        });
        $("#closbtn").click(function()
        {
            debugger;
            $('#myModal').modal('hide');
        });
    }); < /script>
} < table style = "background-color:orange; width:100%; border:solid5pxgreen; padding:20px;" > < tr > < td align = "center"
style = "padding:20px;" > < ahref = "javascript:void(0);"
class = "getAllEMP"
style = "font-size:20pt;" > Get All Employee Information < /a> < /td> < /tr> < /table> < divid = 'myModal'
class = 'modal'
style = "text-align:right; " > < divclass = "modal-dialog"
style = "width:900px; height:400px; padding:10px;" > < divclass = "modal-content"
style = "overflow: auto; padding:10px; background-color:#d2f5f4;" > < button type = "button"
id = "closbtn" > x < /button> < divstyle = "height:10px;" > < /div> < div id = 'myModalContent'
style = "width:850px; height:400px; padding:10px;" > < /div> < /div> < /div> < /div>
حالا تکه کد زیر را به EmployeeController پروژه اضافه کنید.
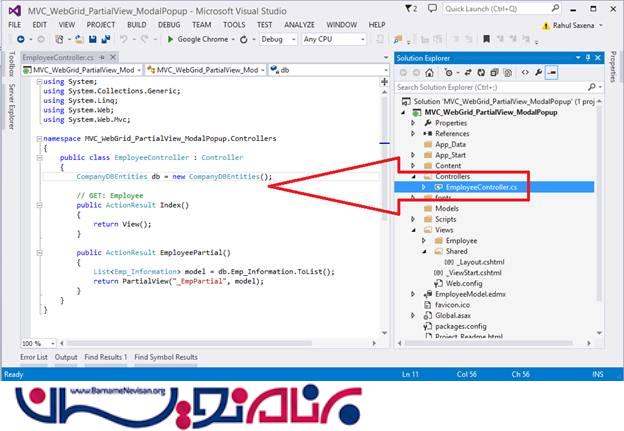
using System;
    using System.Collections.Generic;
    using System.Linq;
    using System.Web;
    using System.Web.Mvc;
    namespace MVC_WebGrid_PartialView_ModalPopup.Controllers
    {
        public class EmployeeController: Controller
        {
            CompanyDBEntities db = new CompanyDBEntities();
            // GET: Employee
            public ActionResult Index()
            {
                return View();
            }
            public ActionResultEmployeePartial()
            {
                List < Emp_Information > model = db.Emp_Information.ToList();
                return PartialView("_EmpPartial", model);
            }
        }
    {
حالا یک partial view در داخل Views و پوشه ی Employee ایجاد کنید.
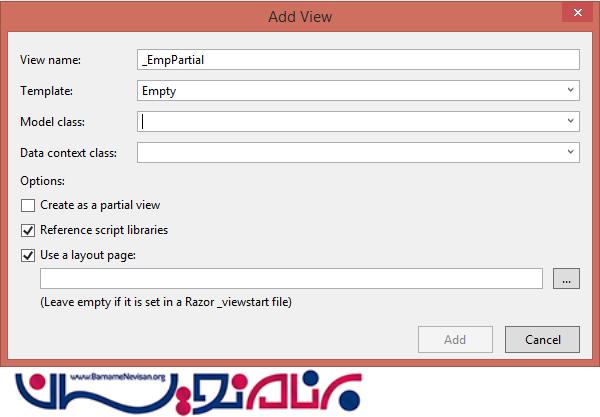
در _EmpPartial.cshtml کدهای زیر را وارد کنید.
    @model List < MVC_WebGrid_PartialView_ModalPopup.Emp_Information > @
      {
            //var grid = new WebGrid(Model, defaultSort: "Name", rowsPerPage: 10, ajaxUpdateContainerId: "gridContent");
            var grid = newWebGrid(source: Model, canPage: true, rowsPerPage: 10, ajaxUpdateContainerId: "gridContent");
            grid.Pager(WebGridPagerModes.All);
        } < styletype = "text/css" > .webgrid - table
        {
            font - family: "Trebuchet MS", Arial, Helvetica, sans - serif;
            font - size: 1.2e m;
            width: 100 % ;
            display: table;
            border - collapse: separate;
            border: solid1px# ff6a00;
            background - color: white;
        }.webgrid - tabletd, th
        {
            border: 1 pxsolid# ff6a00;
            padding: 3 px7px2px;
            text - align: left;
        }.webgrid - header {
            background - color: #ff6a00;
            color: #ffffff;
            padding - bottom: 4 px;
            padding - top: 5 px;
            text - align: left;
        }.webgrid - footer {}.webgrid - row - style
        {
            padding: 3 px7px2px;
        }.webgrid - alternating - row {
            background - color: #00ffff;
    padding: 3px7px2px;
    }
    </style>
    <div id= "gridContent" >
    @grid.GetHtml
    (
      tableStyle: "webgrid-table",
      headerStyle: "webgrid-header",
      footerStyle: "webgrid-footer",
      alternatingRowStyle: "webgrid-alternating-row",
      rowStyle: "webgrid-row-style",
     columns: grid.Columns
    (
    grid.Column
    (
    header: "No.",
    format: @
    < text >
    < div >
    @(item.WebGrid.Rows.IndexOf(item) + 1)
    < /div></text >
    ),
    grid.Column
    (
    columnName: "EMP_ID", header: "EMPLOYEE ID"
    ),
    grid.Column
    (header: "Name", format:
    @ < text > < a href = "#" > @item.Name < /a></text > ),
    grid.Column(columnName: "ManagerName", header: "ManagerName"),
    grid.Column(columnName: "ProjectName", header: "ProjectName"),
    grid.Column(columnName: "City", header: "City")))
    < /div>
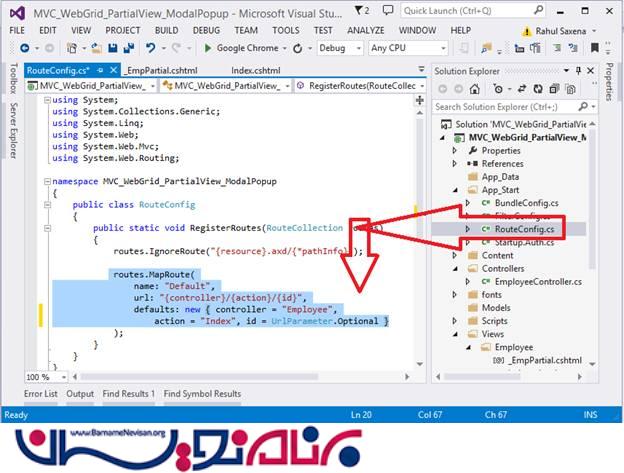
در Route.config ، startup controller و action را مطابق زیر تغییر بدهید:
using System;

using System.Collections.Generic;

using System.Linq;

using System.Web;

using System.Web.Mvc;

using System.Web.Routing;

namespace MVC_WebGrid_PartialView_ModalPopup

{


    public class RouteConfig

    {

        public static void RegisterRoutes(RouteCollection routes)

        {

            routes.IgnoreRoute("{resource}.axd/{*pathInfo}");

            routes.MapRoute(name: "Default", url: "{controller}/{action}/{id}", defaults: new

            {

                controller = "Employee",

                    action = "Index", id = UrlParameter.Optional

            });

        }

    }

{
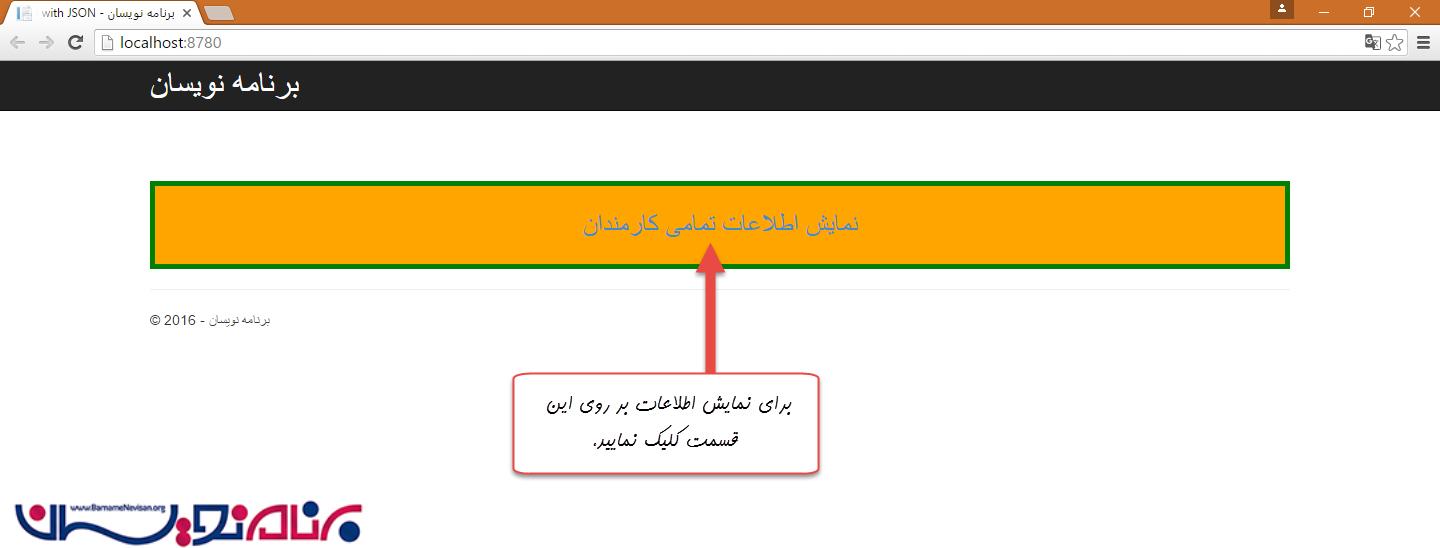
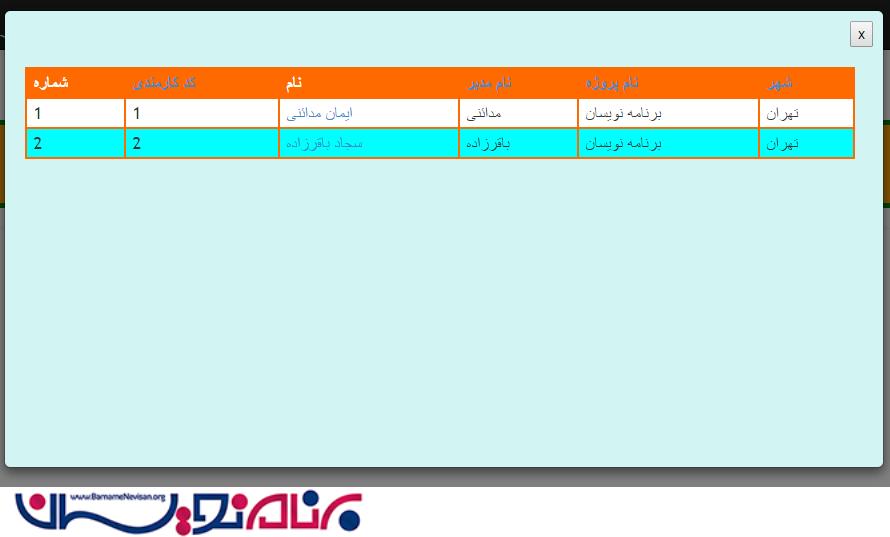
حالا برنامه را اجرا کنید و خروجی را ببینید.
آموزش asp.net mvc

- ASP.net MVC
- 3k بازدید
- 6 تشکر